The 3-Minute Blog Outline That Will Elevate Your Writing

There is no blog without a blog outline.
There have been times when I’ve poured my words onto the page without a plan, but my articles are always better when I use an outline.
When you have a solid system, writing will feel less whimsical, as I’ll teach you in this post. Instead, you can industrialize the process and ensure everything runs smoothly.
As a writer, a blog outline is your bread and butter. It helps you break down what might seem like a daunting and messy stream of thoughts and research into something attainable.
Here is a killer blog outline that has improved the speed and quality of my work to get you started.
First, create a headline
When you are single, you will judge most of the people you talk with on their looks. It’s only natural. If you see someone you find attractive; there’s probably a higher chance you will attempt to strike up a conversation. Headlines aren’t much different.
When you post an article, whether it be on your blog, Business Insider, or Medium, the headline is what draws someone in. If your headline sucks, the reader won’t give it a second look.
With headlines, your goal is to raise the reader’s eyebrows and acquire their curiosity. Tease them. Invite them in for a cup of coffee.
When you go to write your blog outline, the headline is what you’ll naturally start with. It gives the piece structure before you’ve begun structuring it.
Then, a subtitle
The subtitle is perhaps the forgotten element of a blog post. Usually, writers will spend a lot of time perfecting the title but neglect the subtitle. After all, if the title has caught the reader’s eye, why should the subtitle matter?
Well, think of it as a supporting character in a film. While it doesn’t hog the limelight, the film would be much worse without it.
A subtitle helps further explain your headline while giving a sneak peek into your article.
Choose an eye-catching picture
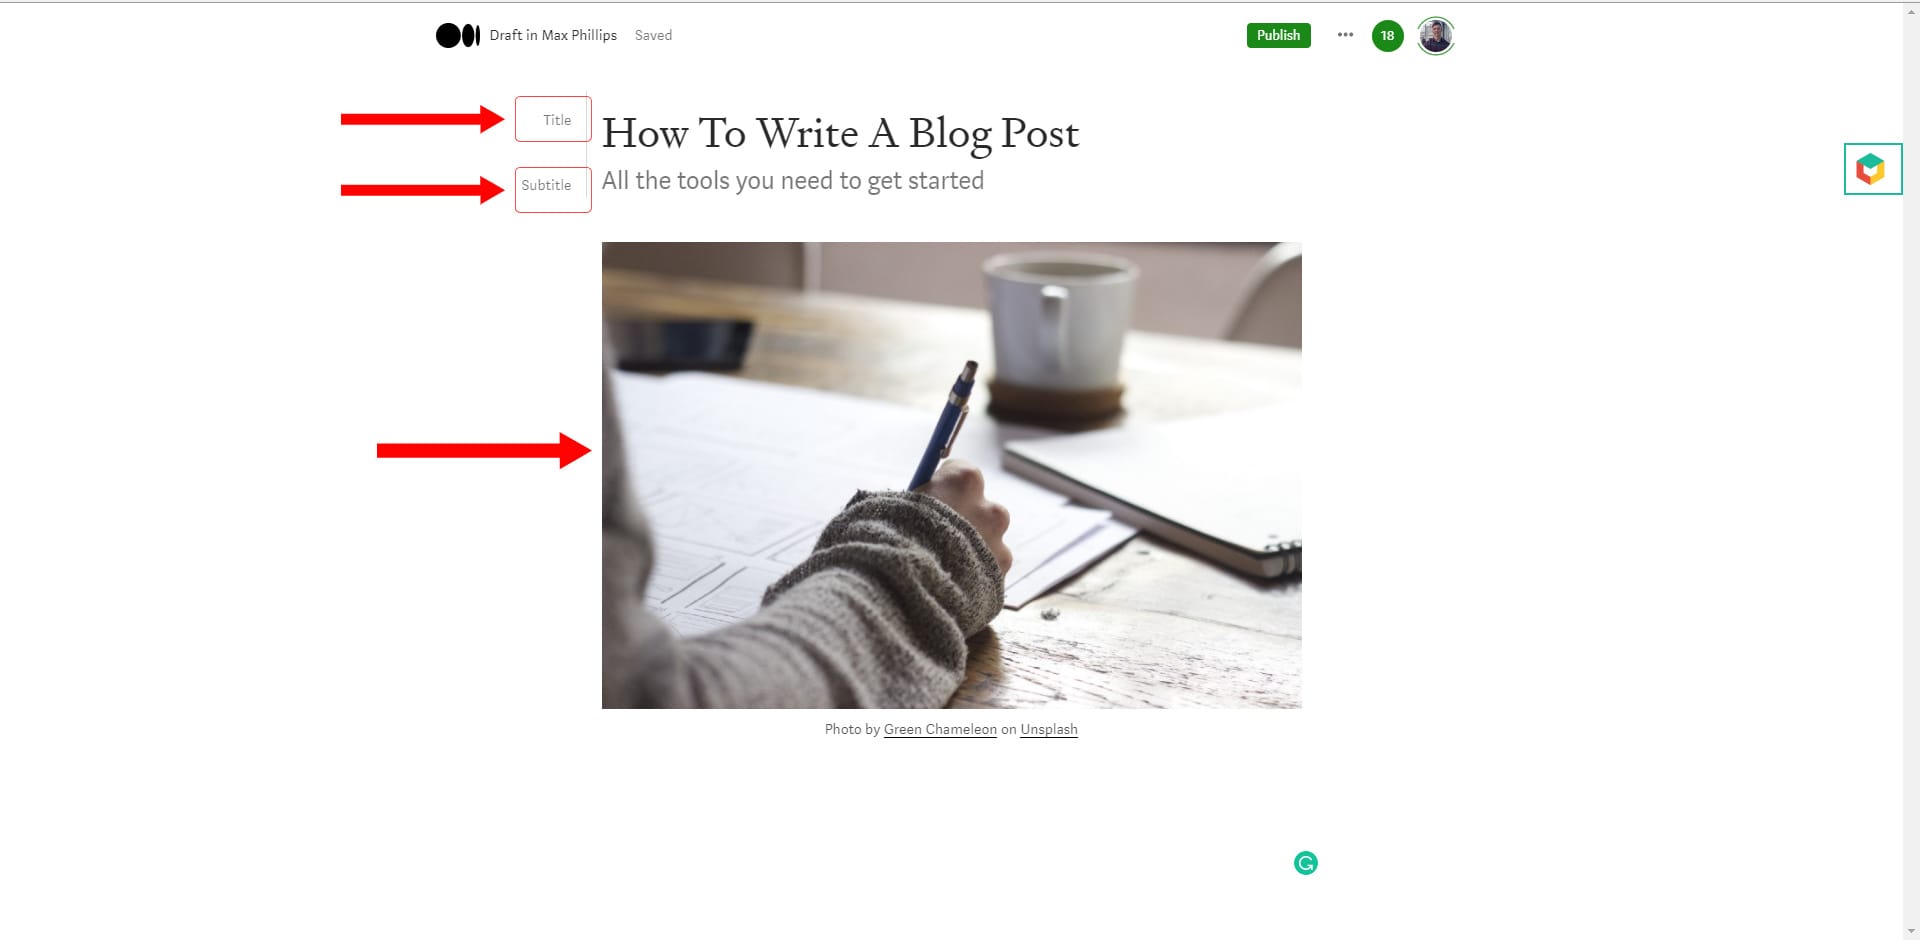
On websites such as Medium, the draft format invites you to put a picture in next. I always like to do this before I write any of the main body, making the article look aesthetically pleasing. It should look like this:

It’s best to choose images with free-to-use rights to avoid any copyright issues. The best websites are Unsplash, Pexels and Pixabay. Wikimedia Commons is also a good one for pictures of public figures.
Once you’ve sorted the headline, subtitle, and image, you can now get stuck into the rest.
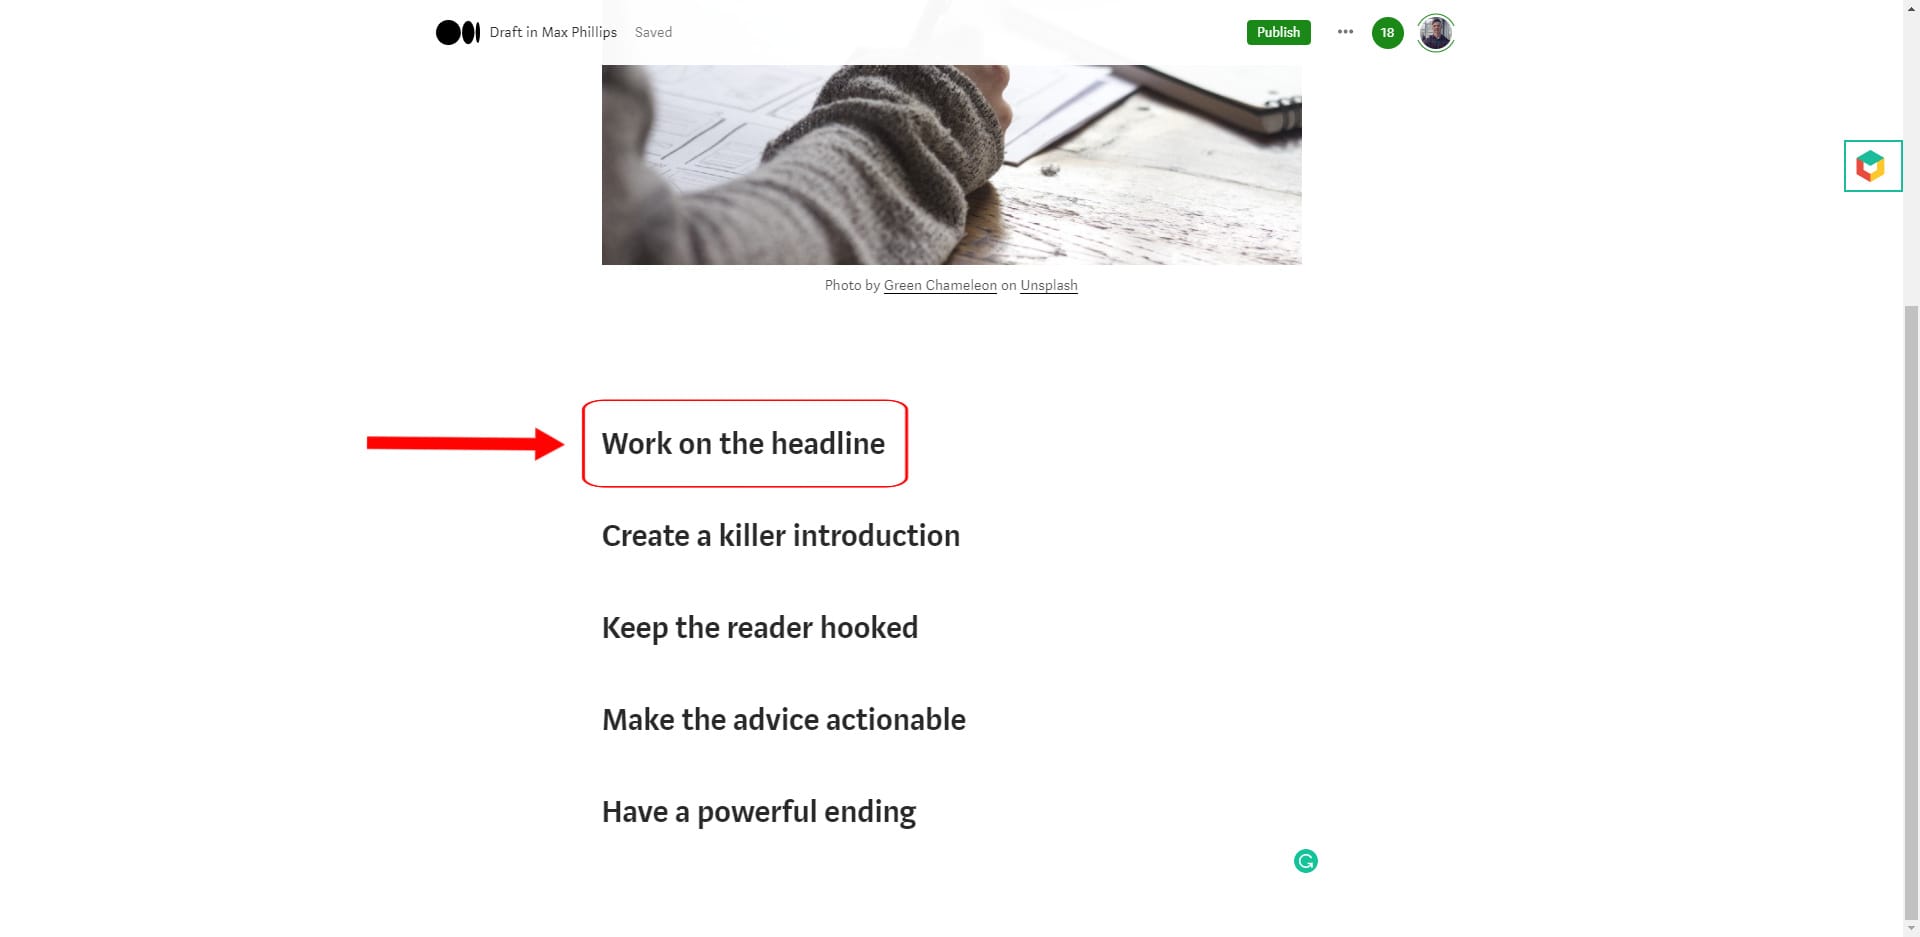
Next, write your subheadings down
When I first started writing, I would wing it. I’d do as above, but then get started with the introduction right away. Then, I’d make up subheadings as I go.
While I initially felt like that was working, I soon realized it was incredibly inefficient. For that reason, write your subheadings down before you write anything else.

This allows you to formulate the concept on the page and in your head. It will turn from a mere idea into a viable project. It gives your piece direction.
You can always make edits to the subheadings once you’re done. But in the blog outline, make sure you give your writing a clear path to follow.
Bullet-point your talking points
Again, this is another step in my blog outline process that I didn’t do until recently. Having subheadings is excellent, but you may find yourself struggling to formulate your thoughts when you go to write the article itself. That’s where bullet points come in.
For each subheading (introduction included), make a quick list of the topics you want to cover. This system will save you tonnes of time because you’re saving yourself from the dark depths of creative indecision.
Of course, you might think you work best when you’re thinking off the cuff. That’s perfectly normal. But, a bullet-point summary of your talking points will give you more confidence in your writing. As you cascade down the page, you’ll be assured of your work.
Other things to note
As for the basic blog outline, that’s all there is to it. The less complicated, the better. Once you’ve done all of the points I’ve outlined, you can get to work on writing the article.
I always find it works better if you write the first draft all the way through without pausing to research and edit. Just focus on getting all of the words out on paper and leave the touching up for another time.
More often than not, when you leave the editing and research for another time, you’ll find you have a new perspective. Don’t be afraid to cut entire paragraphs out.
A good blog outline can make a great article
A blog outline is precisely that - an outline. It lays the groundwork for you to do what you do best.
The key here is to make the entire process more systematic. Instead of running through a sunflower field, you’re on a conveyor belt. I know it doesn’t sound as pleasing, but trust me, when you can get the outline right, the whole process is much more enjoyable. And the more you enjoy writing, the better your blog posts will be.
So give it a go. If you have a different blog outline, I’d be curious to see it.