How To Create A Medium Publication In 30 Minutes

Do you know how to create a Medium publication? No? Good, neither does basically anybody else.
I wish Medium had better “support” features so people could figure this out a little easier. Because it’s actually sort of difficult to create a Medium publication, I’m going to show you how I built mine.
I started the Post-Grad Survival Guide in November of 2016 and its since grown to 8,400 followers.
There’s lots of little nuances to nail for this, so let’s get started.
Here’s how to create a medium publication:
Step 1: Hit The Button
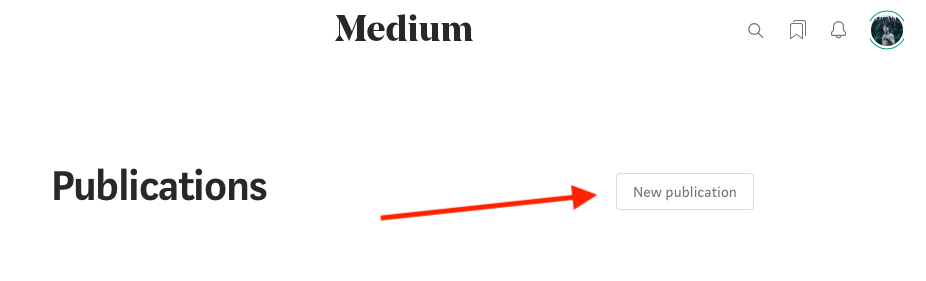
From the homepage, click your profile picture image and go down to “publications.”

On the next screen, you’ll see a button that says “New Publication,” hit that.
Step 2: Build Out Your Publication
The next screen is where the magic happens. You’ll find places to input the publication name, description, avatar, and even social media channels.
I trust you’ll be able to pick the name and description accurately, so for now let’s just focus on the images, tags, social media channels, and logo.
Because these are the most important parts.
Tags
Make sure to “tag” your publication with popular tags–that way it’ll show up in more search results on Medium. Here’s a list of the top 20 most popular Medium tags for reference.
Scroll down a little bit and you’ll see this section.
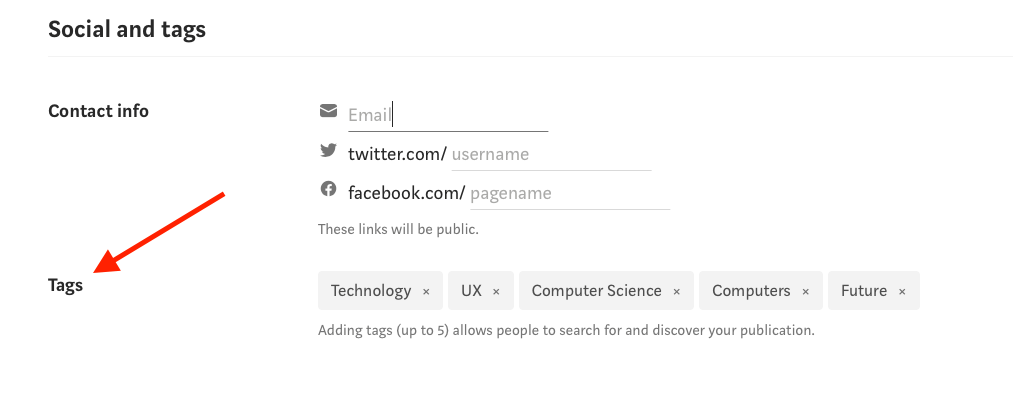
That’s where you’ll input those tags!
Social Media
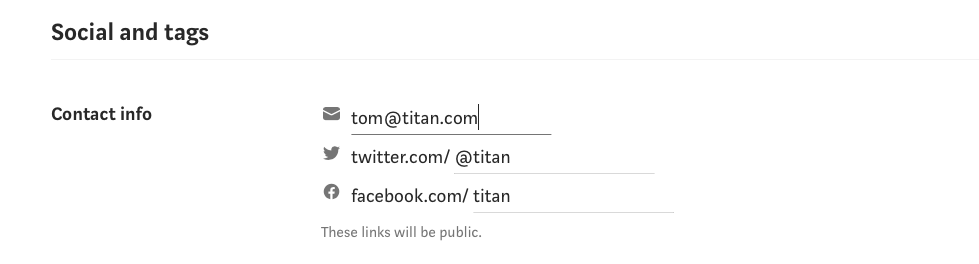
For this part, if you want, all you have to do is create a Facebook page AND twitter profile, then copy the username/pagename into these boxes.
You can get the usernames/pagenames by looking at the URL of your profiles then copy+pasting the username part straight into Medium.
Here’s my own personal Twitter handle to give you an example.

However, my “dummy” publication name is Titan, so I’d probably create usernames similar to this.
Logos + Avatars
Okay, so I like to use a tool called Logo Joy to build this out. Here’s what their homepage looks like:
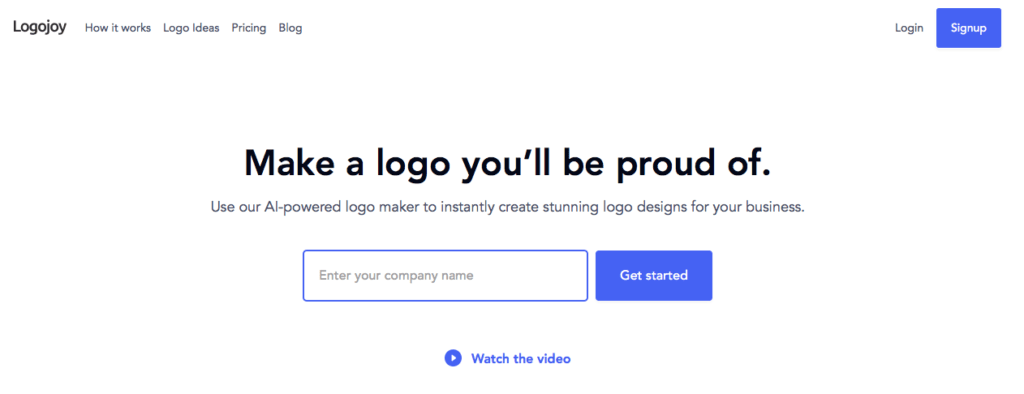
All you have to do is type in your publication’s name, then go through a bunch of the following screens. This step is SUPER important because you need to make a cool looking logo, so watch and listen carefully..
After you type in your name and get started, you’ll come to this screen here:
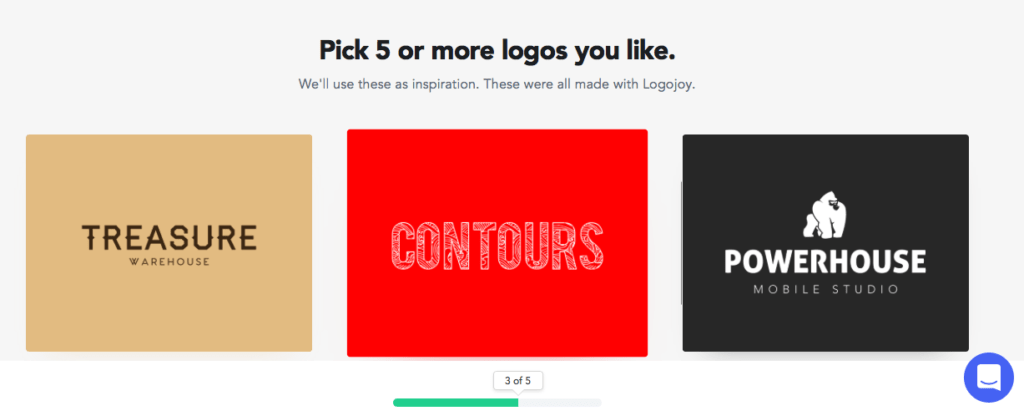
Make sure to ONLY click on the ones that have a white background. This will become relevant later on, but just trust me on this.. The 3 you see above are NOT ones you want to click on. Scroll down until you see 5 logos against a white background and then click on them.
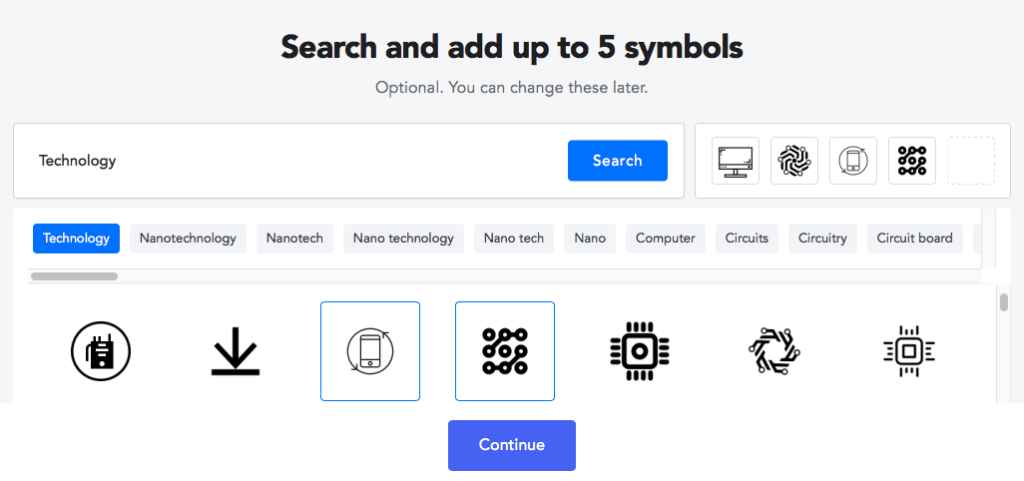
A few screens further you’ll come to choosing the actual symbol for your logo.
You can “search” for certain keywords and pick cool symbols based off of them in the box below it on Logo Joy. Pick 5, then move on.
Now, on the next screen you’ll see a bunch of logos waiting for you. They’ll probably look pretty basic, but clean at the same time. That’s what I’m going for. Here’s what I saw:
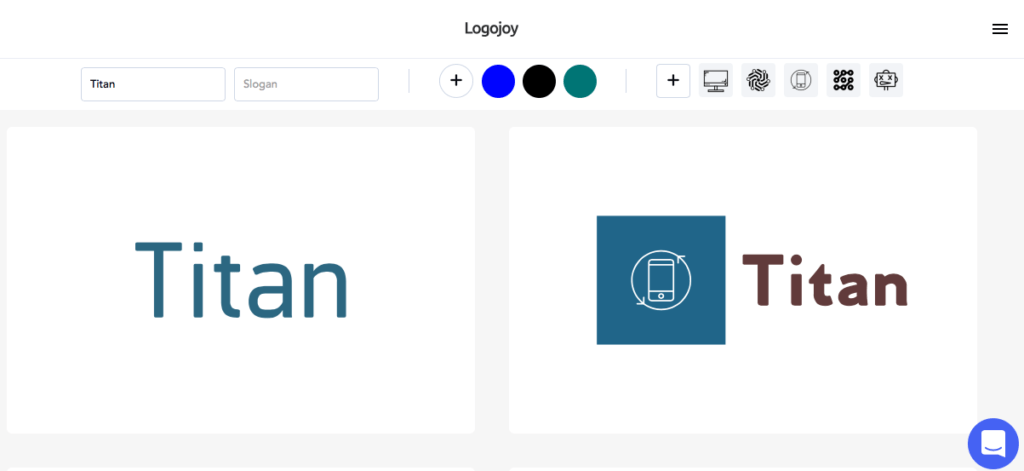
Scroll down until you find one you like, then SCREENSHOT it. I’m not saying you shouldn’t pay for it–I’m simply saying you need to upload it into Medium’s system to see what it looks like in your publication before you go about paying for it.
Just make one screenshot of your favorite.
Here’s mine:

Simple, clear, to the point. Okay, now that you have your screenshot, make a duplicate of that image on your desktop and “crop” ONLY the symbol part. Here’s mine:

Good, now that you have both images, go ahead and “add” them into your Medium publication from the desktop. Click “Add Image” for the Publication Logo prompt and select the screenshot of your ENTIRE logo, not just the symbol we cropped above.
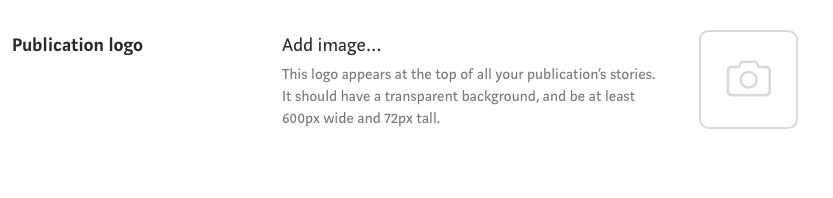
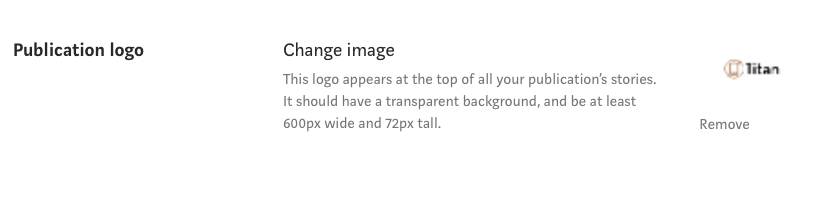
Do the exact same thing for the publication “Avatar” except use the small symbol image we just created.

Good, now we’re cooking. When you’re done all this, scroll down to the bottom of the page and hit the “Next” button.
Step 3: Decorate The Cake Publication
On the following page, you’re going to now “decorate” your publication. I’ll largely leave this up to you, but there’s a few things you need to pay attention to..
First, add your logo to the homepage. It’s now you’ll see WHY I told you to make your background white.
Just go to the homepage layout (pictured below), and make sure you select “logo” from the “Layout” section.

Good, now click on the camera symbol below and import the picture containing your entire logo.
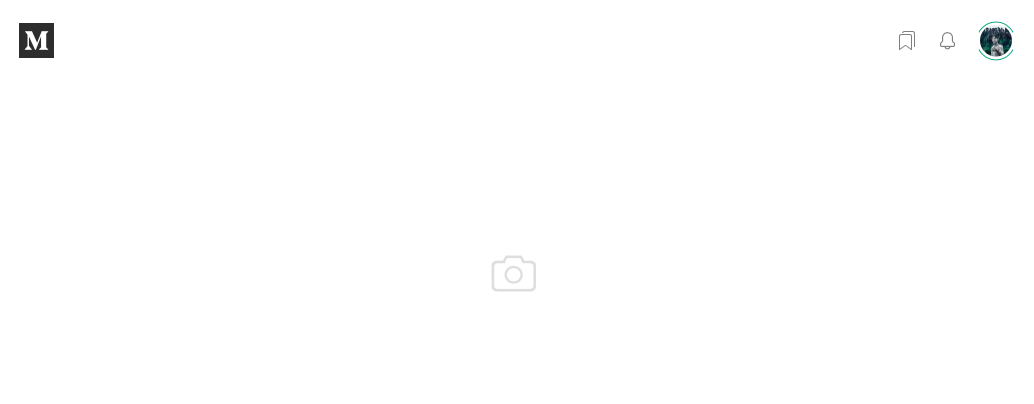
Then you should see something like this…
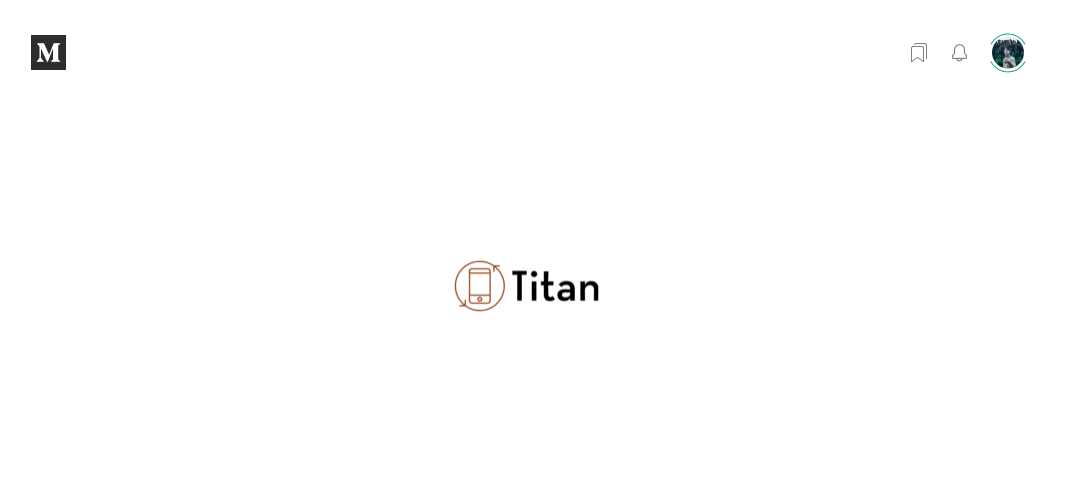
BOOM! Looks good, yeah? A little small, but it looks better than nothing. I can’t begin to tell you how awesome making your own logo can be for your publication’s “brand.”
If you like the image, just make sure you purchase it from Logo Joy so you can use it.
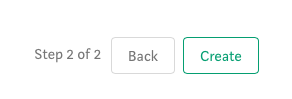
After that, just scroll all the way down to the bottom and hit “Create.”
Guys, this is, in short, how you create a Medium publication of your own. There’s lots of tweaks and design decisions you can make that’ll make your homepage “pop” a little bit more, but this is just how you get this thing CREATED.
I’ll write more posts about design tweaks and things like that later (hello Nav bar, adding writers, editors, etc.), but for now this is what I’ll leave you with.
If you want more info on Medium and how to build your influence there, just sign up for my free online course. It’s called “Your First 1,000 Followers."