7 Online Course Tools You Need For A $3,000+ Launch

What are some good online course tools to have?
With the launch of my first online course, I was lucky enough to make $3,000 off about 15 sales.
That was THE very first time I created a course, mind you.
I was one of the lucky ones..
But was I?
Did I just get lucky, or did I carefully plan EVERYTHING well from the webinar to the sales page to the email follow-up sequence?
I think there was a little bit of both thrown in, sure, but I also think the proof was in the pudding.
Are you thinking about creating your first online course? Are you scared of jumping in because you think you have to do SO MANY THINGS before you get started?
You don’t. You don’t even have to spend that much money (less than $100, actually).
You don’t even need to actually CREATE your course yet. I’ll get into that in a second…
Let’s talk about seven essential tools you need when creating your first online course and monetizing your blog for the first time.
1. Teachable
Let’s start with Teachable.
Teachable is a tool that allows you to process payments, create a course sales page, and “host” the video lessons of your course.
It’s an all-in-one solution, really.
I’m sure if you’re reading this post you know of the big players in online course creation..
Thinkific, Udemy, Skillshare, Teachable. This list goes on, I think. And I’m not necessarily saying one platform is better than the other.
I just think Teachable works, and it’s intuitive, and it just makes for a better all-around experience compared to the other competitors. It’s one of the best online course tools out there.
Teachable has two payment options..
The $39 option and the $99 option.
The major difference between the two is that one plan allows you to get the money you make from course purchases quicker.
The $39 option forces creators to wait to withdrawal their earnings by a month. Pick whatever plan you want, but if you’re bootstrapping and just want to “proof” your idea, trust me when I say that the cheaper version is best.
The main reason I love Teachable is that you can create a really nice-looking sales page on the backend to help sell your course.
It’s so easy to create the page, too, which was what I was looking for.
Another thing is, it’s super easy to actually create your course on the backend. You don’t need to even have it created, too, to start selling.
2. Webinar Ninja
Webinars are the best way to sell online courses. I’ve talked about this in other blog posts, but all you really need to know now is that without webinars, you won’t get that many sales..
ESPECIALLY if you’re just starting out as a blogger/influencer.
You could have 30 people show up for a webinar and you could convert 6 of them on your new course. That’s how powerful they are.
Some people who really know what they’re doing would’ve converted 10–15 of them!
Webinar Ninja is your best bet if you’re just getting started. They have a free trial you can get into for a month which basically means you can put on about 2–3 webinars to see if you get any course sales.
There’s a LOT of webinar providers out there (WebinarJam, GotoWebinar), but Webinar Ninja is the best in my mind for fledgling creators/influencers.
3. ConvertKit
When you get people to sign up for your webinar, you want to send them reminder emails.
Webinar Ninja has its own built-in feature for sending reminder emails, but I don’t trust the deliverability.
Again, if you even get a 5% better open rate on an email, that could be dozens more people VIEWING your email, getting your message, and choosing to come to your webinar.
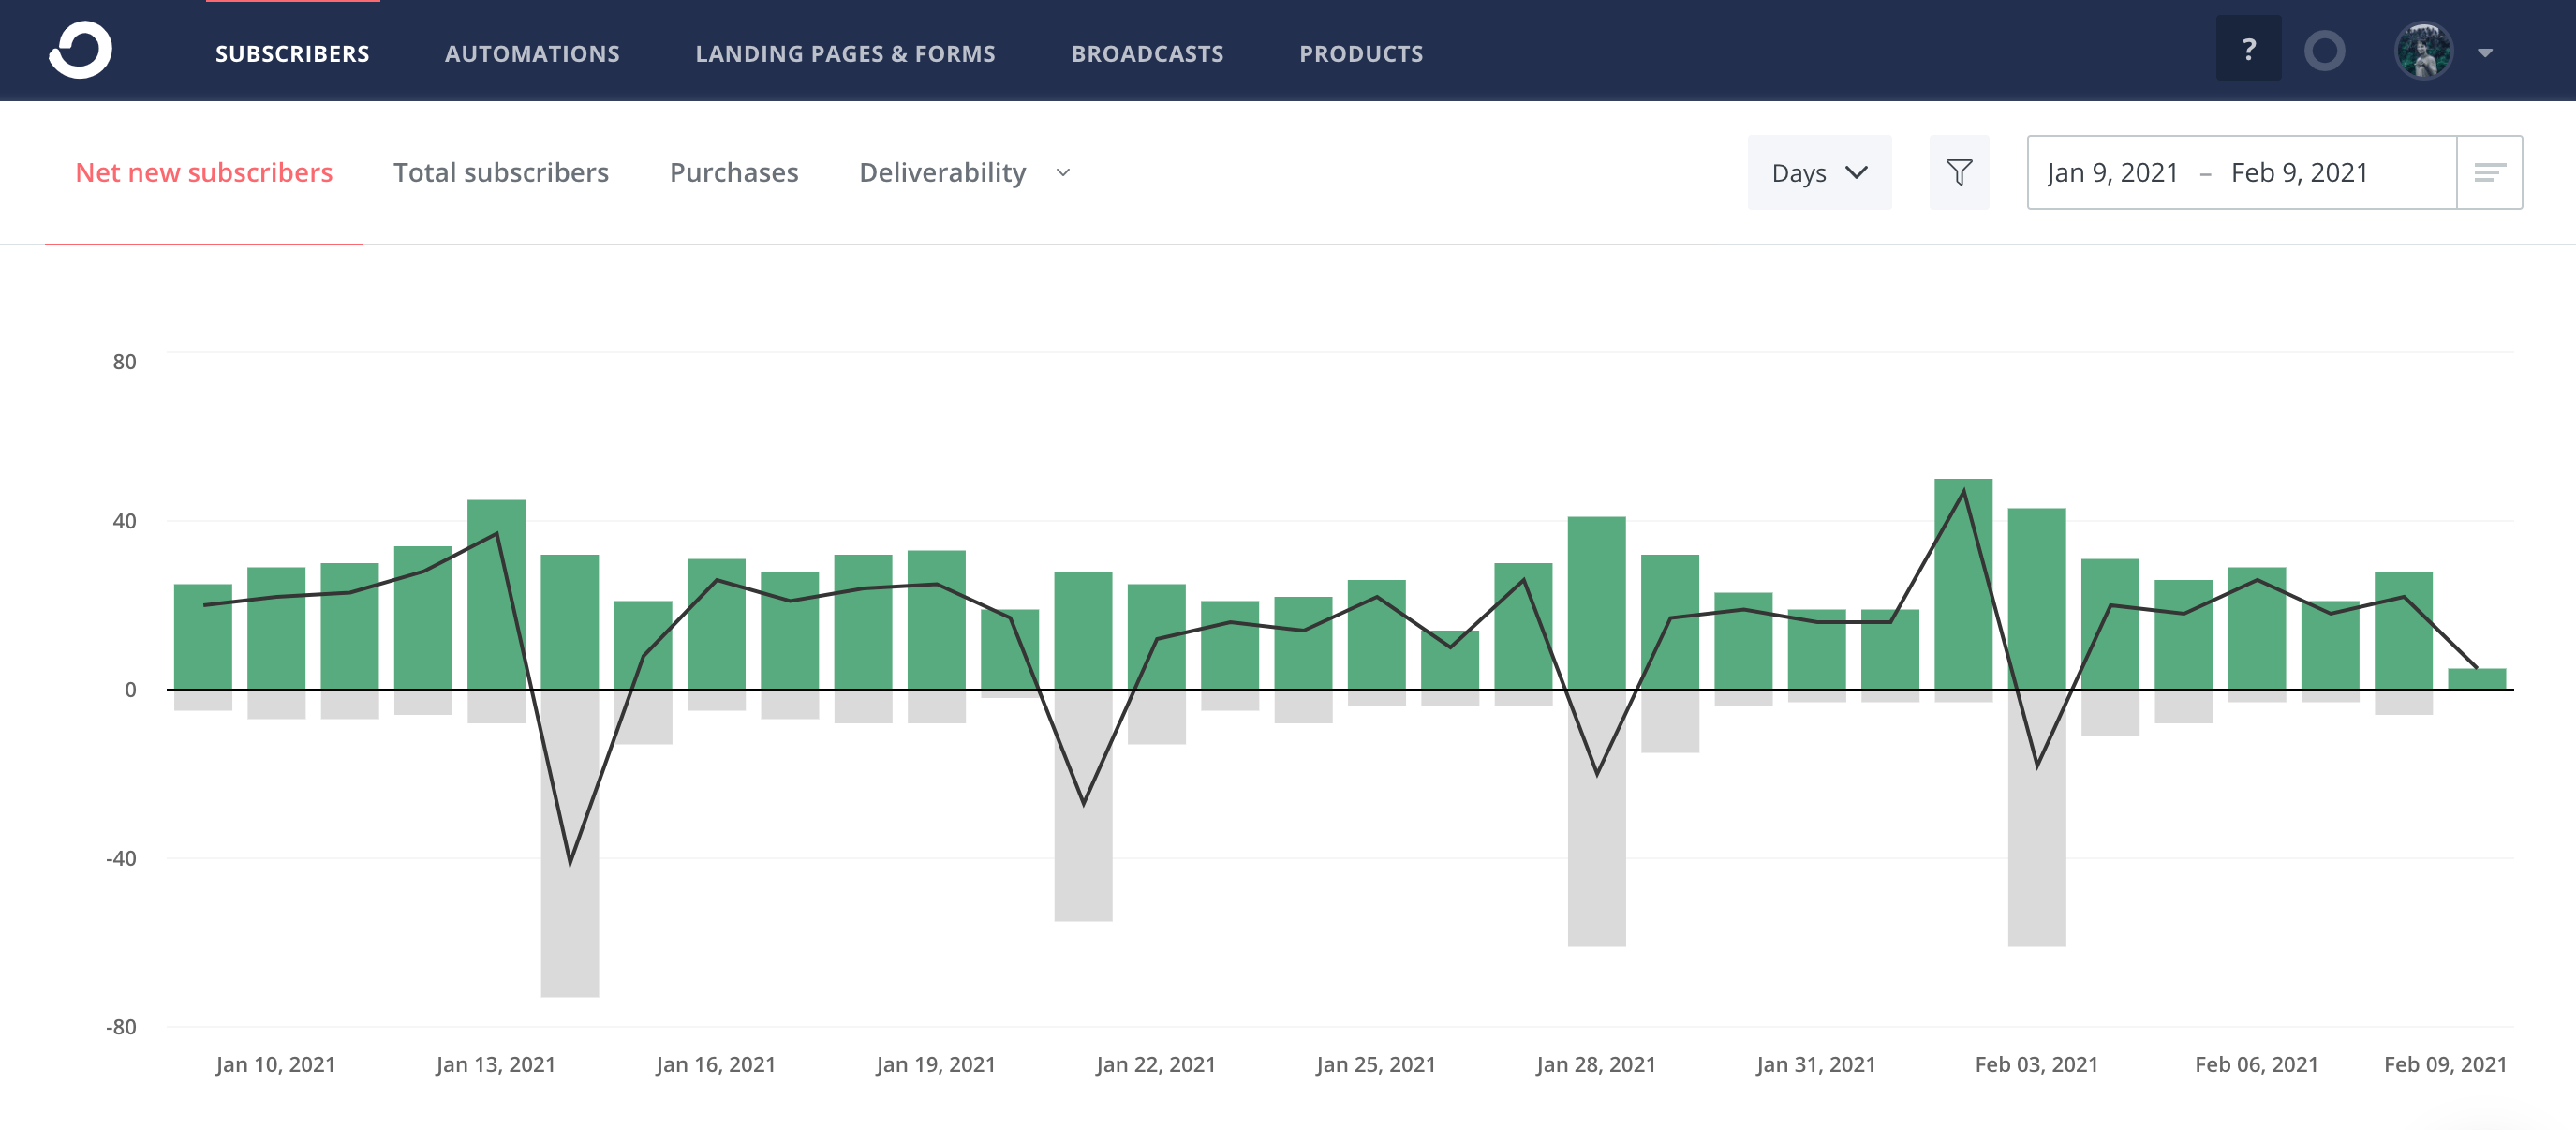
In short, that’s money in your pocket.
ConvertKit is free for your first 1,000 subscribers, so you don’t have to pay any money to TEST your online course idea out.
I choose ConvertKit because it’s simple, intuitive, and it’s just the best value for the money. That’s what makes it one of the great online course tools.
Pro Tip: Just use ConvertKit to manually send reminder emails. You can integrate it with LeadPages so that every person that signs up via your webinar landing page gets imported into CK with a tag.
Then you can “select” the people in that tag, and manually send them reminder emails 24 hours, 2 hours, and 15 minutes before your webinar. It works!
4. LeadPages
You have to actually send people to a landing page so they can sign up for your webinar, right?
Teachable doesn’t have that feature, ConvertKit doesn’t have that feature (they do, but their landing page designer is VERY rudimentary), but Webinar Ninja does.
The reason I don’t like Webinar Ninja to create landing pages is that you can’t integrate it with ConvertKit. You need higher deliverability rates, right? You want to market to them later, right?
You can’t do this if you use Webinar Ninja to create your landing pages.
LeadPages is the solution. It’s one of the online course tools that can integrate BOTH Webinar Ninja AND ConvertKit to it so everybody who signs up gets automatically added to both systems.
Then, after they sign up, all you have to do is use ConvertKit to remind them where the webinar is taking place (you get that link via Webinar Ninja).
Then you’re golden.
This is the only weird caveat to everything and I know it gets a little complex….
But it works. It really does. You could use Clickfunnels to create everything but honestly I don’t like how they design their pages and I also don’t like the price.
I’m trying to give you a system, here, that’s as cheap, good, and easy to use as possible.
This is mine.
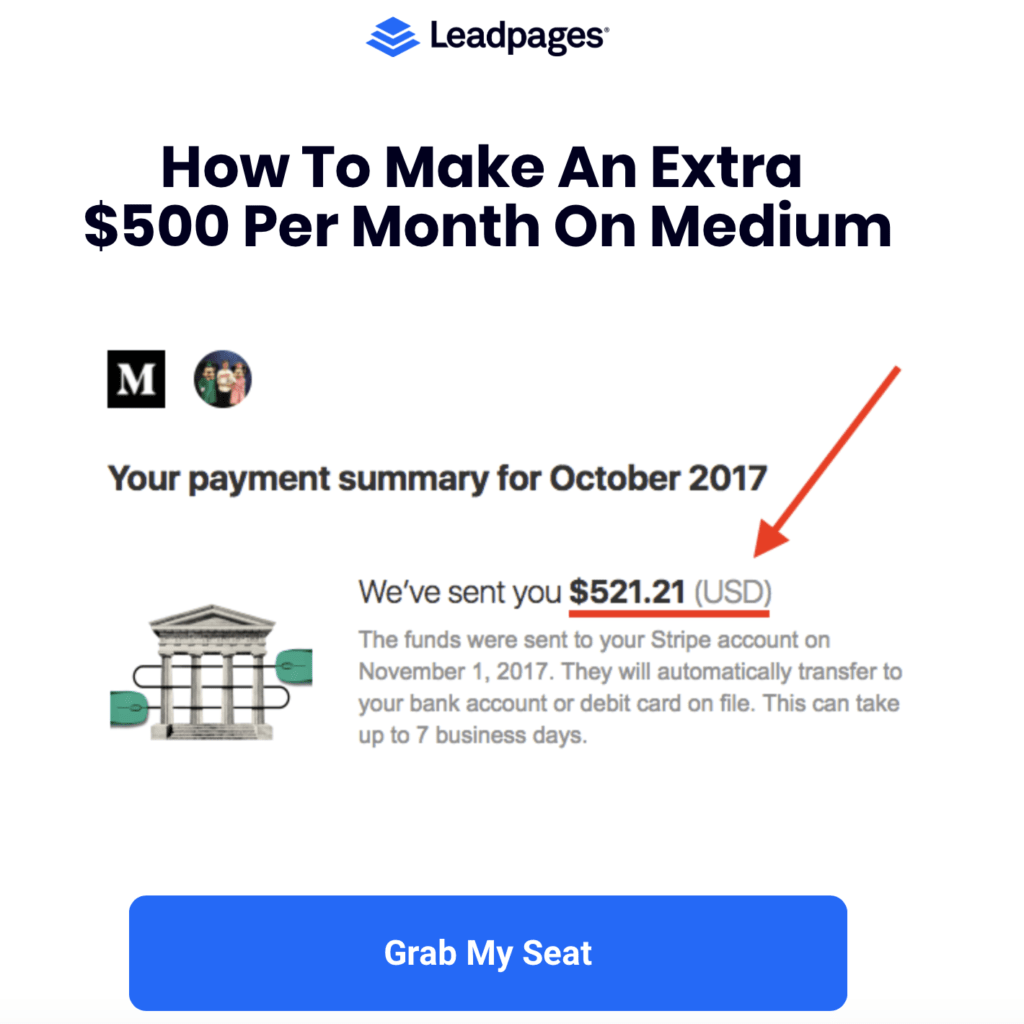
5. Medium
You have a lot of tools from above to sell courses, but what about tools to help GET PEOPLE IN YOUR FUNNEL?
That’s where the real money is, right?
The damn traffic.
We want some traffic.
Medium is a fantastic traffic generator — especially for beginning bloggers. I get 100,000 views per month!
Medium will help you drive people to your landing page so they sign up for your webinar and then it’s smooth sailing from there.
6. Google Slides
Google Slides is a free solution in the “Google Drive” that allows you to create slideshow presentations.
It’s SUPER similar to Powerpoint — here you can create BOTH your webinar presentation AND your course lesson materials.
The way I created my course lessons was I just recorded my voice with a mic and ran through powerpoint presentations. I recorded everything — the screen, my voice, everything.
Then those were the lessons.
Google Slides is all you need!
Again, you really only need Google Slides, at this point, for the webinar presentation (since I recommend you pre-sell the course).
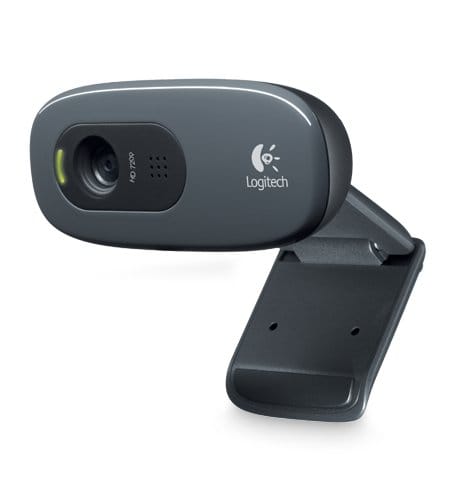
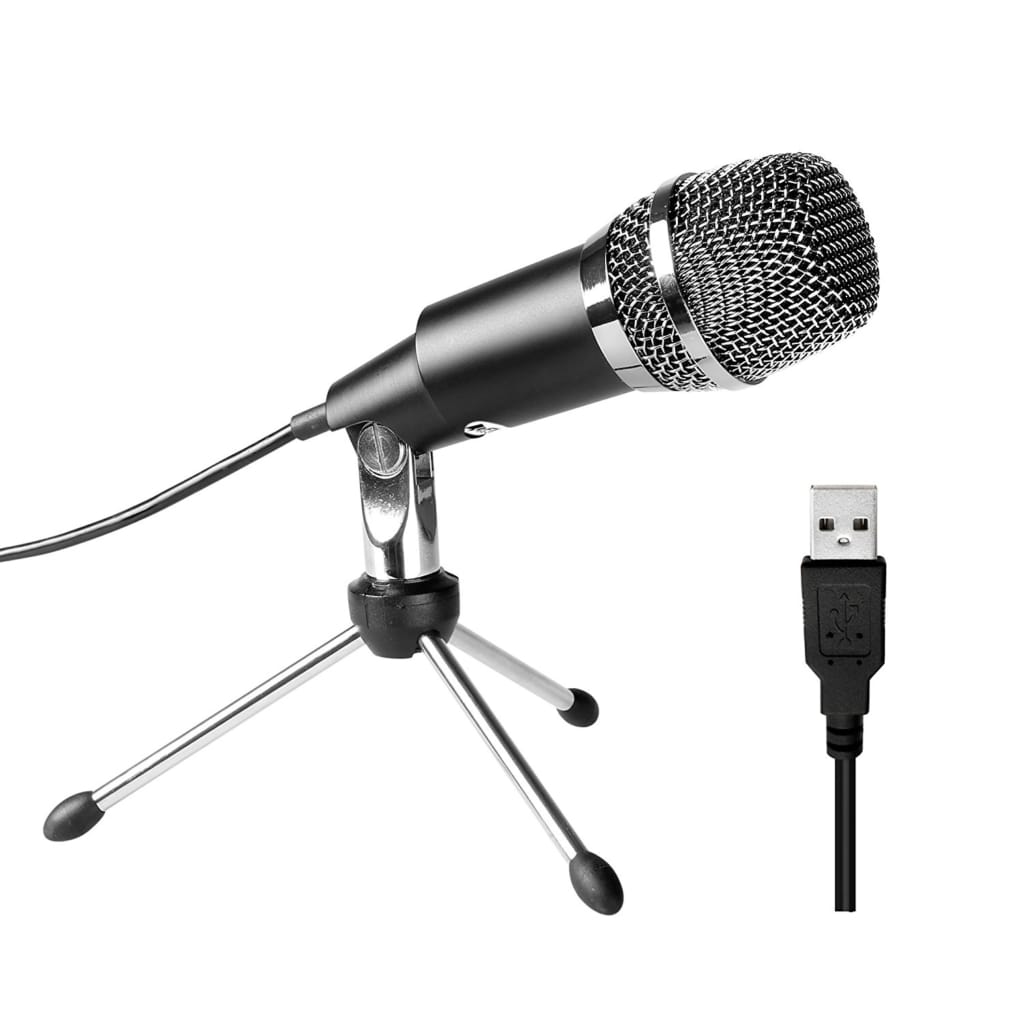
7. A Webcam And A Microphone
You can definitely do a webinar without a webcam or microphone, but I wanted to shell out a little money for these because I figured the clearer the audience could HEAR and SEE me, the more they could trust me.
Here’s two really cheap options I purchased..
If you’re REALLY bootstrapping and need to choose just one of these, I’d have to put the webcam above the microphone.
Here’s the two that I use..
Logitech C270 HD Wide Screen Webcam ($21)
Fifine USB Microphone ($22)
Pre-Sell Your Course
PRE-SELL YOUR COURSE! I repeated myself, I know. The last thing you want is to create a course and put 80+ hours into it and then nobody buys.
Just give people a basic outline of what they’re going to get from the course in your webinar, then link out to your sales page when you make the pitch. Divide it up into modules. 3-5 modules should be fine. 8-10 lessons per module should be fine, too.
There’s no science to it, really, you just have to provide value, alright?
Good. All of the above are the best online course tools that’ll help you have a $3,000+ launch.
This post contained a few affiliate links. If you decide to click through and purchase any of the products I recommended, I’ll receive a small commission AT NO EXTRA COST TO YOU.